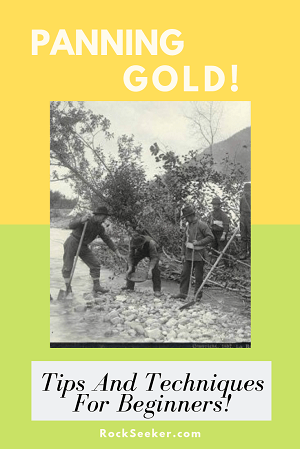
For the beginner gold prospector, looking for gold doesn’t have to be very complicated. In fact, to get started all you really need are a shovel and a gold pan. All of the other equipment I mention is actually quite optional and will only make you a better gold prospector if you do have them!
With that said, learning how to pan for gold is not as hard as you might think it is. And that’s exactly why I put this post together; to give you a few tips on not only how to do it, but also what to look for when panning for gold.
Every gold prospector, from beginners to experts, has a gold pan in their gold prospecting kit. In the old days, prospectors would use literal cooking pans! But today, the most common type of gold pan are the 12 to 14 inch plastic gold pans. These gold pans are very popular for several reasons:
- Color: The color of the plastic gold pan is usually black or dark green, which happens to be the best to see gold against.
- Riffles: The plastic gold pans have riffles, or little ridges, built into the pan and are designed to help trap the gold.
- Weight: Plastic gold pans are much lighter than their metal counterparts.
- Size: 12 to 14 inch gold pans hold a good amount of material. Anything smaller doesn’t hold enough. Anything larger could be too heavy and take too long to work.
Be sure to read my post, The Best Gold Pan if you are still looking for the right gold pan for you!
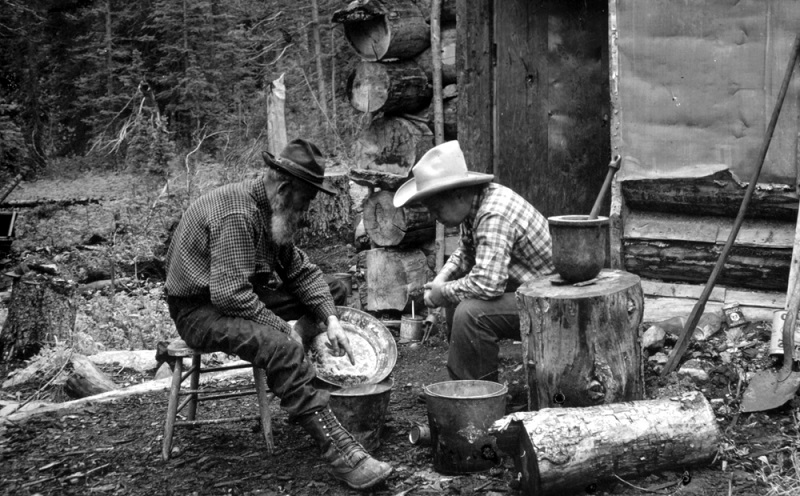
As I said, panning gold is not overly complicated or difficult. However, the more you do it and the more you practice, the better and faster you’ll get at it.
Just follow these simple instructions to learn how to pan for gold. Also follow the tips on what to look for when doing it.
Here’s how gold pans work.
Find a location in the creek, stream or river that is deep enough to be able to completely submerge your gold pan. You also want to make sure the location you choose has fast enough moving water to carry away the muddy water you will be creating. If you can find a place like this, and it happens to have a big rock near by, take a seat on that rock. You will be a lot more comfortable in the long run.
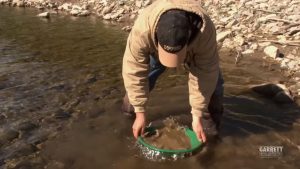
Fill the gold pan approximately 2/3 full with the dirt you collected and want to wash. Don’t fill the gold pan all the way up as it can become too heavy and take too long to completely pan. Place the gold pan with dirt completely under the water and mix up the gravel with your fingers. By doing this, you get the floating material out of the pan and start the process of getting the heavier material to settle at the bottom of the gold pan.
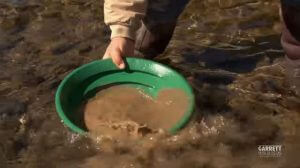
Take out all of the large rocks that you’re able to see in the pan. Try to wash any of the dirt that’s stuck on the rock back into the gold pan. Continue mixing the material with your fingers, removing more large rocks.
Now start shaking the gold pan from side to side. By doing this, you are helping the heavier material to continue settling at the bottom of the pan. Don’t be afraid to shake the gold pan vigorously to settle the material. Just be careful not to spill the gravel you want to wash. Continue to remove large rocks that you come across.
Begin to swirl the material around in the gold pan in a circular motion, keeping your pan just under the surface of the water. By doing this, the lighter gravel comes to the surface while the heavier minerals and gravel sink to the bottom of the pan. Now you should be able to see the lighter sand and gravel on the surface.
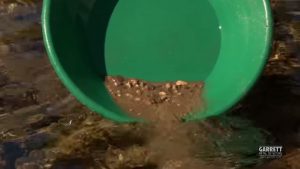
Begin to tilt your pan forward as you rotate it and allow the lighter sand and gravel to wash out over the front edge. Be sure the riffles are at the front of the gold pan and the material is washing out over them so they can begin to help trap the gold. Keep doing this until only a small amount of the lighter material is left along with the heavier black sands.
Take the gold pan out of the stream but leave about an inch of water covering the material. Carefully swirl the material around in the pan. If you happen to see any gold at this point, carefully take them out. Place the pan back in the water and repeat this process, gently washing away any more of the lighter material left in the pan. Remove the pan keeping about an inch of water in it.
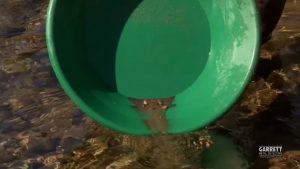
Tilt the pan and shake the heavier material into one side of the pan. When the black sand is on one side of the pan, give it a couple more shakes.
Now gently swirl the water over the sand, carefully removing a top layer each time. Here is where you will begin to see small gold flakes in the black sand.
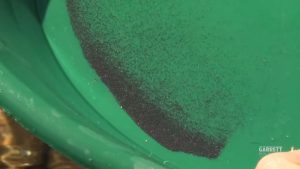
Shake the pan once more and work the flakes to the bottom. Keep swirling and washing off a top layer until all that’s left are the gold flakes.
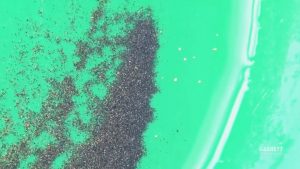
Carefully remove the gold from your pan and start washing your next load of gravel!

This video is an older instructional video of how to pan for gold, but it’s still one of the best videos I’ve ever seen on the subject. In addition to teaching you how to use a gold pan, they also go over what to look for when choosing a gold panning location.
So that’s really all there is to panning for gold! Sounds simple…because it is! But it requires a lot of practice. So grab your gold pan and get to it! If you want to practice gold panning, throw in a shovel of dirt into your gold pan and throw in a couple of bb’s. Pan that material until you recover those bb’s. Be sure to keep track of how many you put in there to begin with!
If you want to step up your game and try panning for the real thing, then you might be interested in getting a hold of some gold concentrate. I wrote a whole article on gold concentrates called, The Best Unsearched Gold Paydirt And Concentrates: It’s Never Been So Easy!
If you found this information helpful, please consider sharing it with your friends! Good luck!
1. The Best Unsearched Gold Paydirt and Concentrates: It’s Never Been So Easy!
2. Gold Prospecting For Beginners
3. The Best Gold Pan (Top Gold Pans Reviewed)
4. Recover More Gold With The Best Sluice Box
5. The Best Gold Pan Kits (Reviewed)
